Copper chimney flashing
The images show newly fitted copper flashing wrapped around the brick chimney where its base meets the asphalt-shingle roof, including visible corner and side details.
This real project in Glen Cove, Long Island documents copper chimney flashing and waterproofing work on a painted brick masonry chimney surrounded by an asphalt shingle roof. The photo gallery follows visible stages of surface preparation, copper flashing installation, roof-edge detailing and the completed white-coated chimney.
Working around a masonry chimney requires close attention to the intersection of the roof, brickwork and metal flashing. The images show how copper sheet metal was shaped around the base of this chimney, as well as work on shingles beside the flashing and the finished masonry coating.
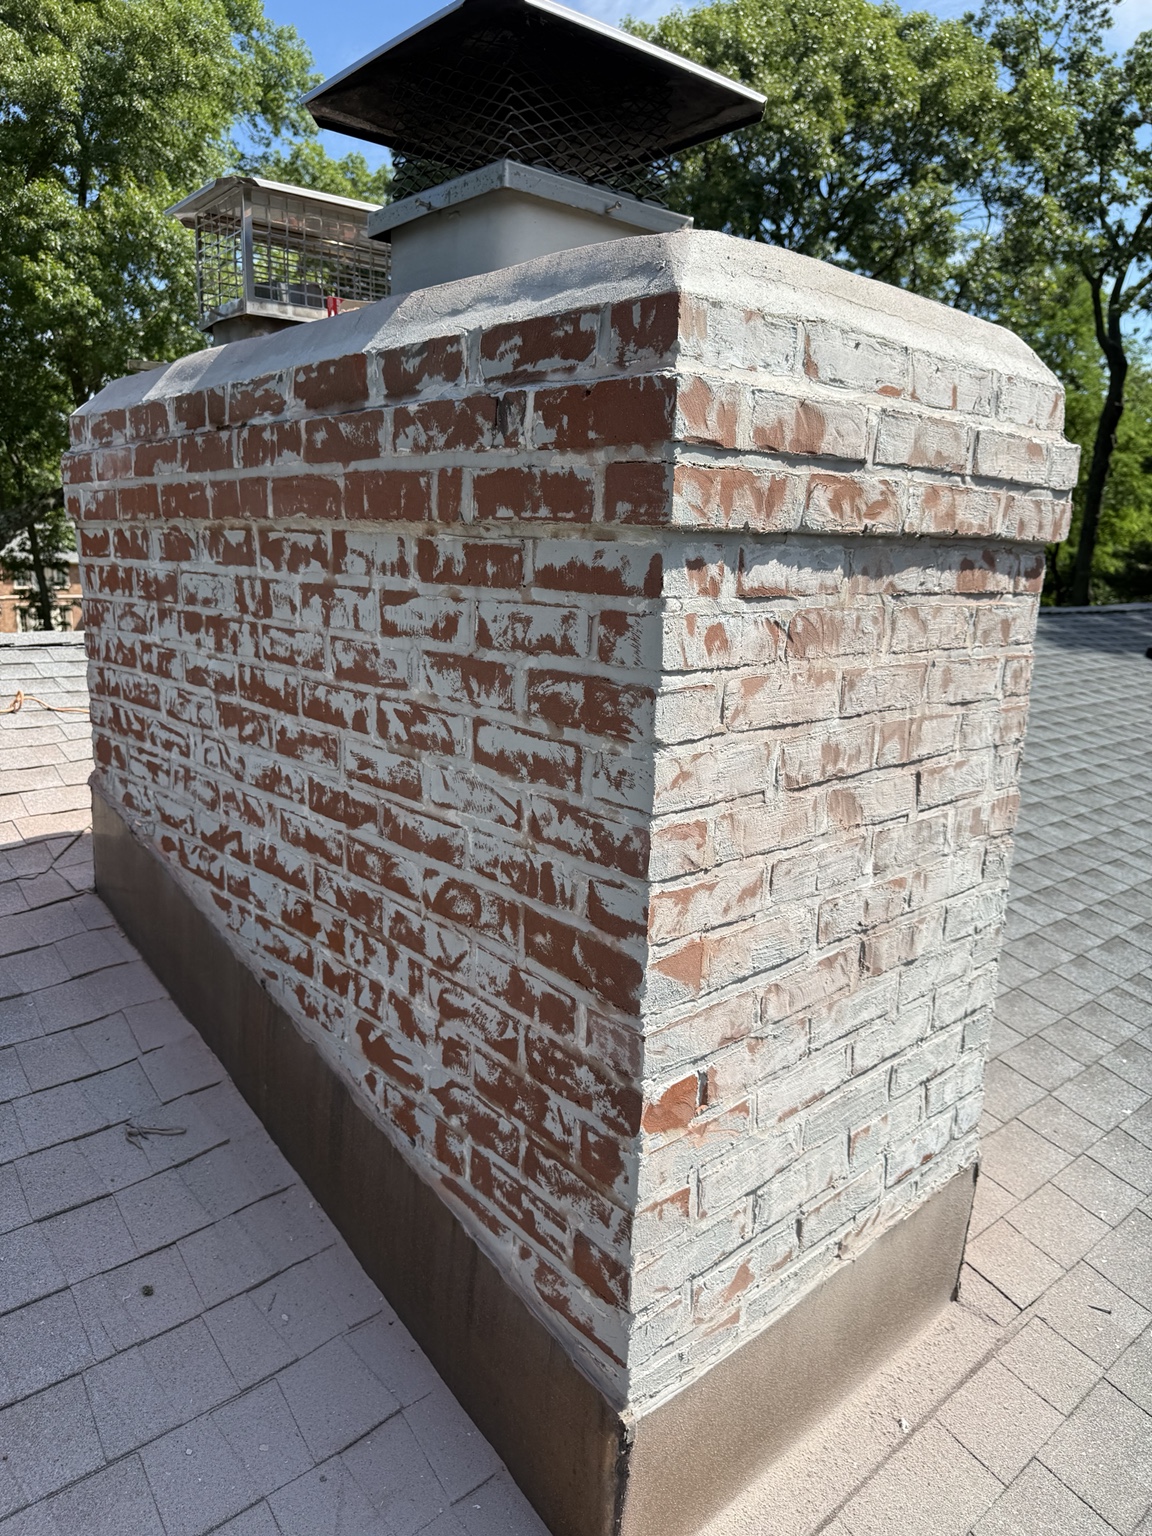
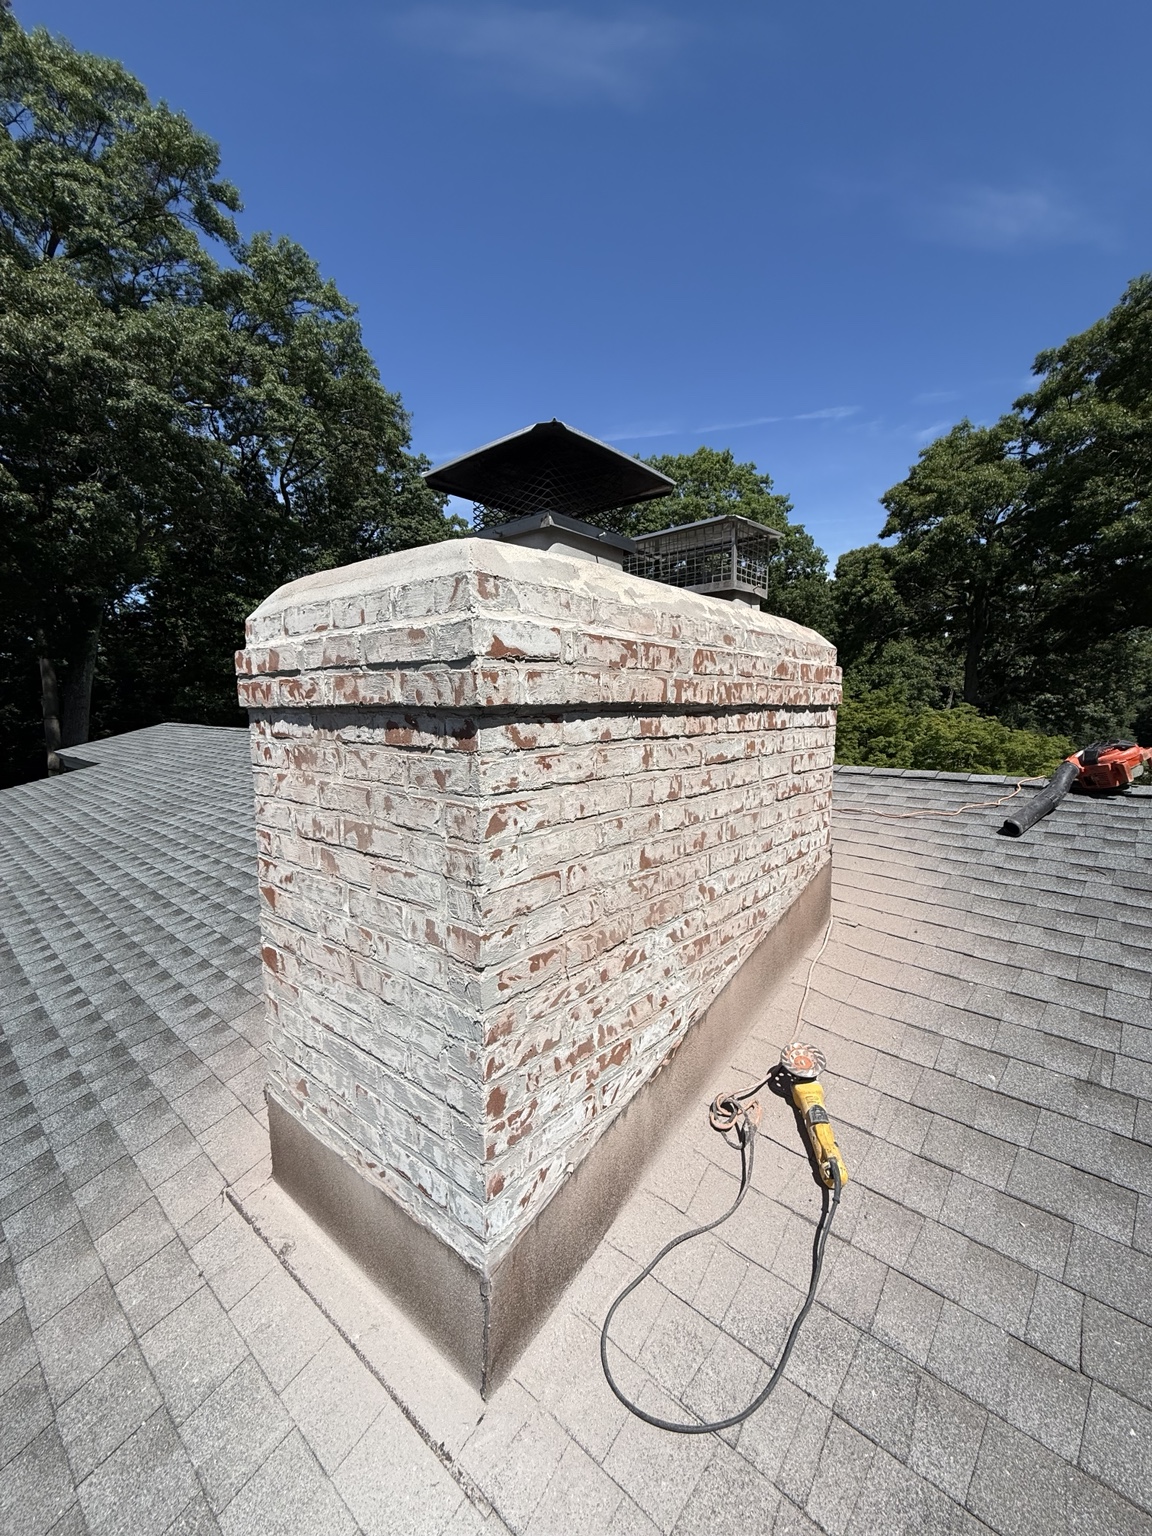
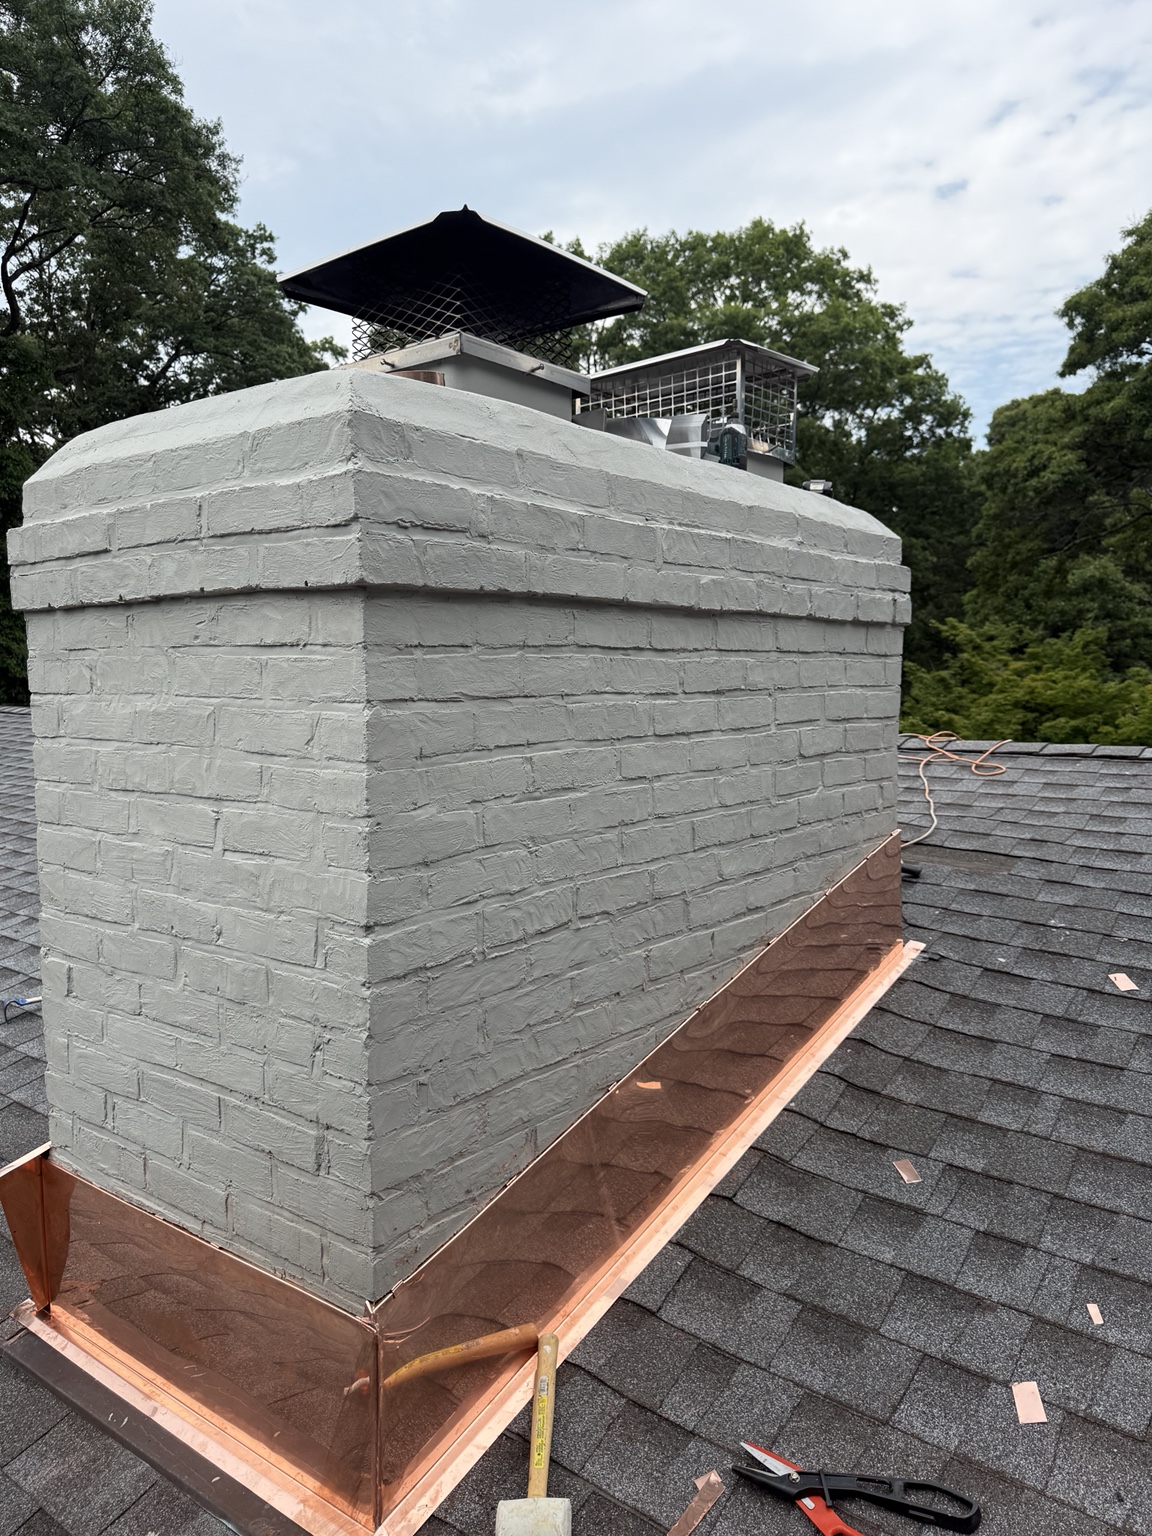
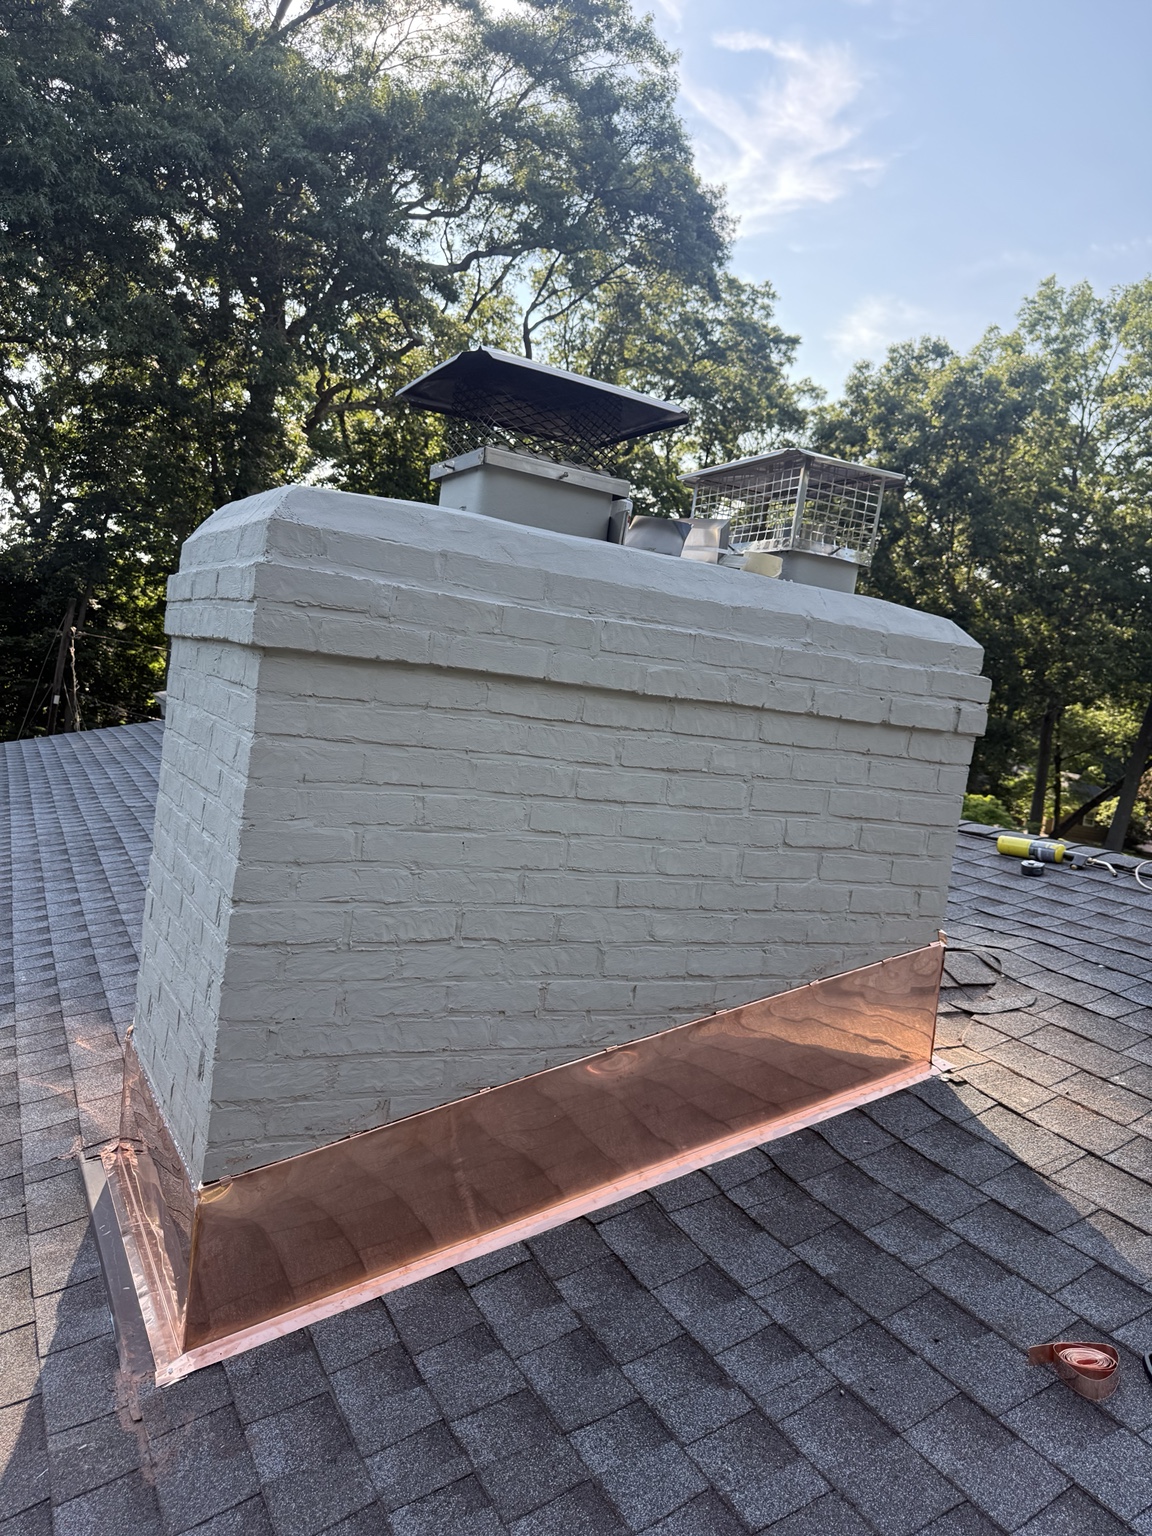
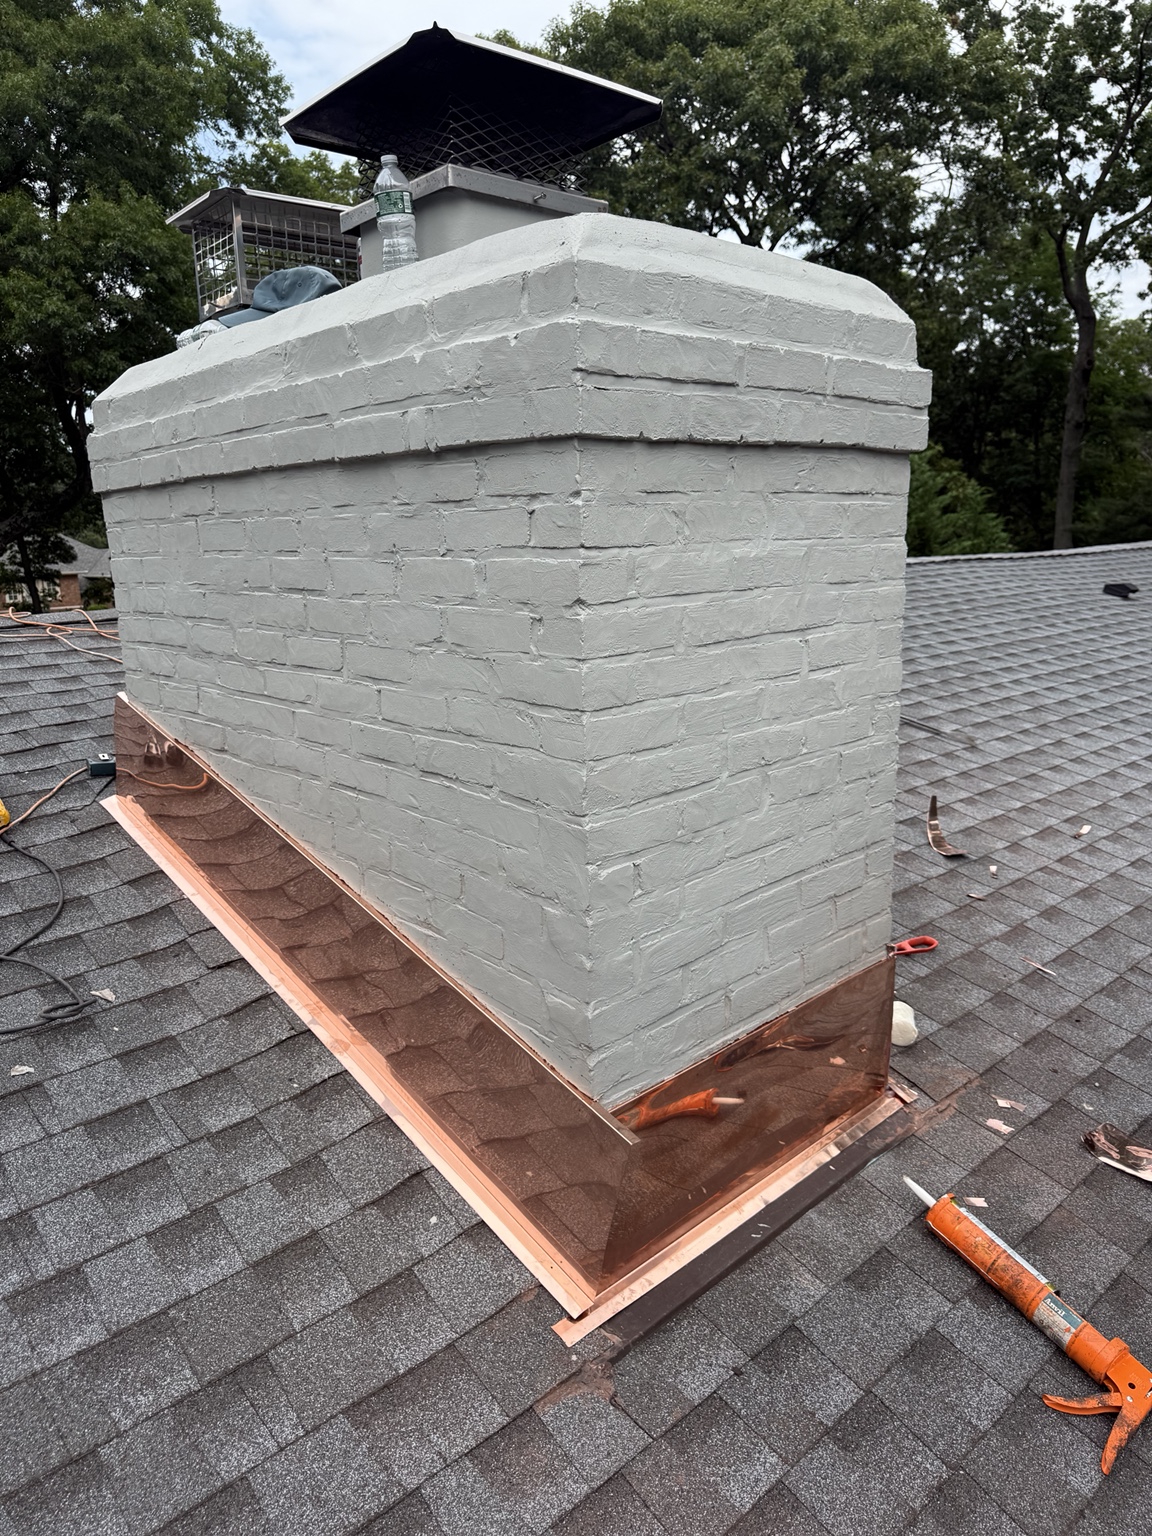
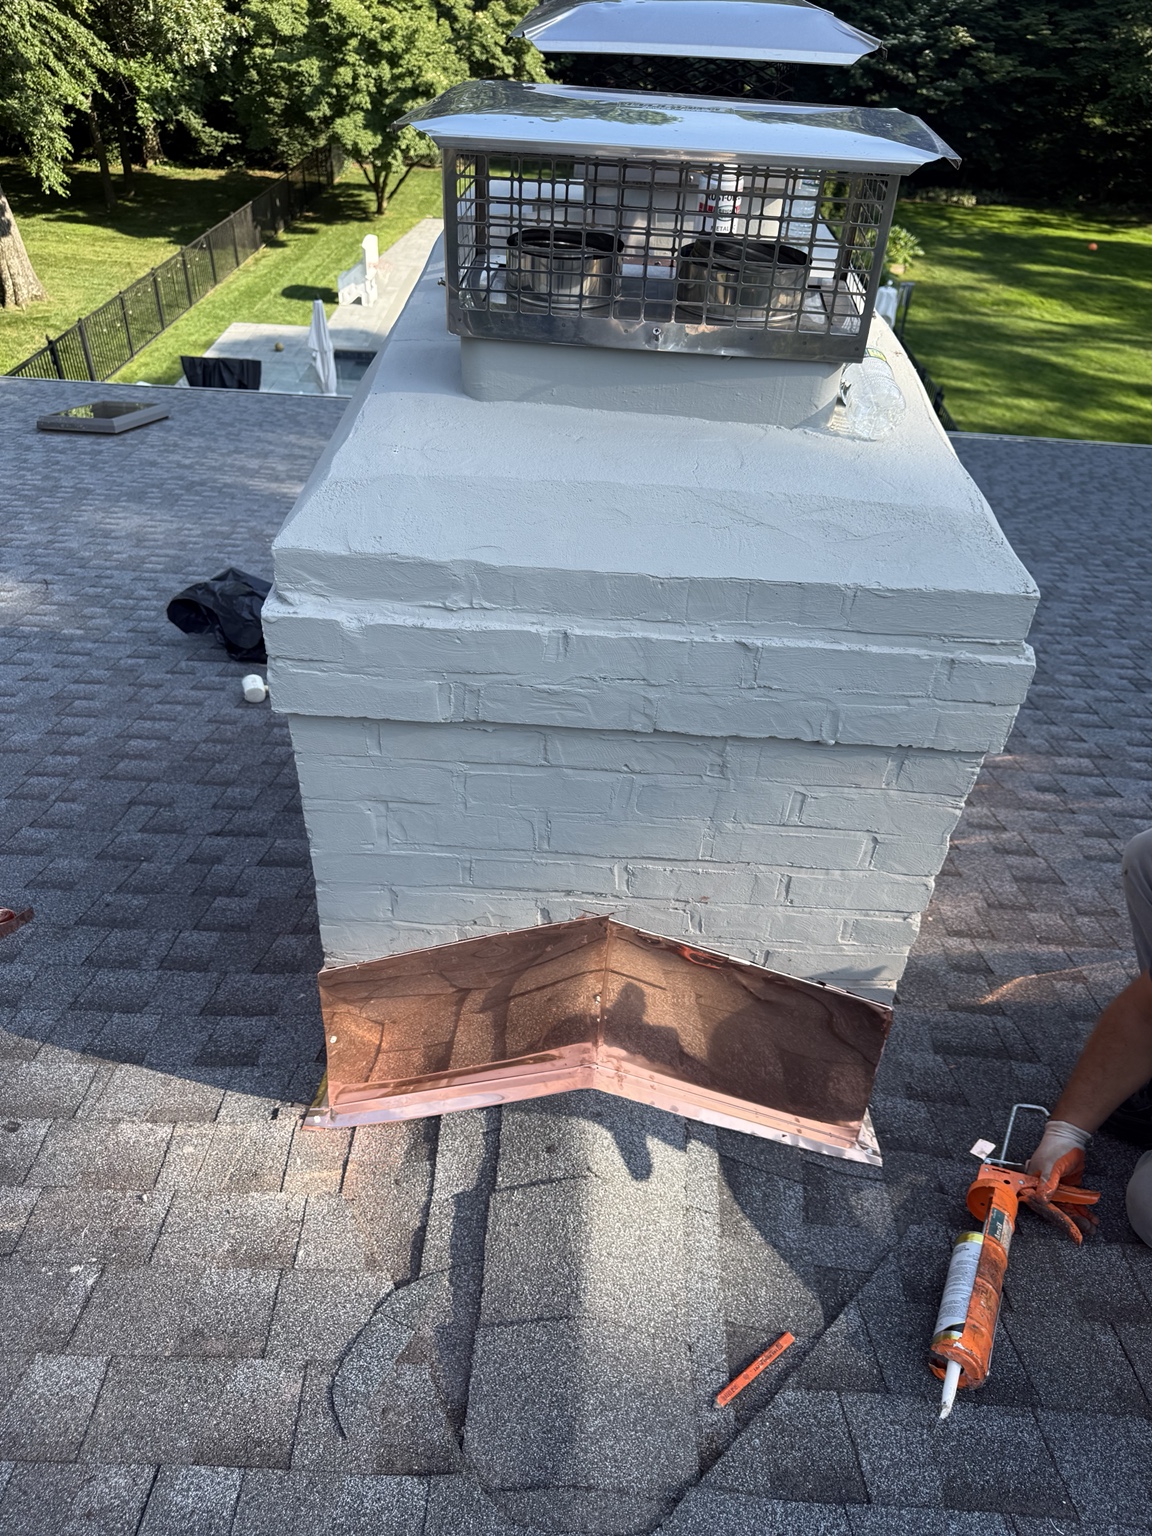
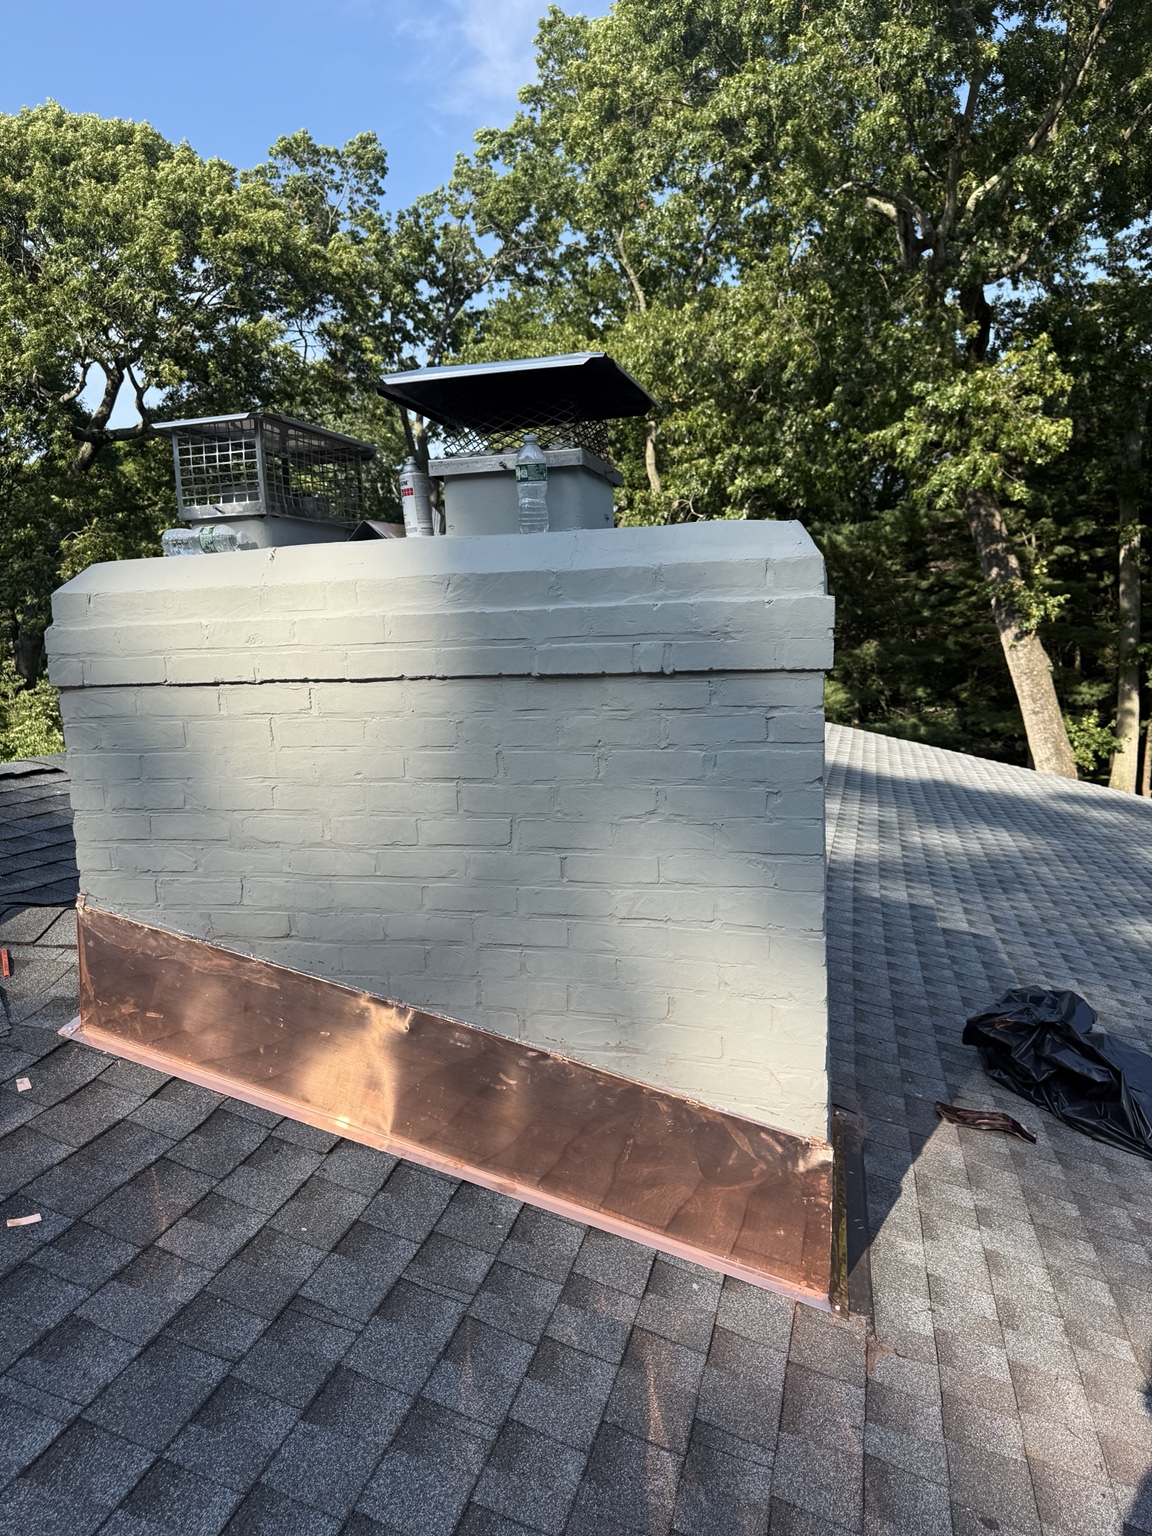
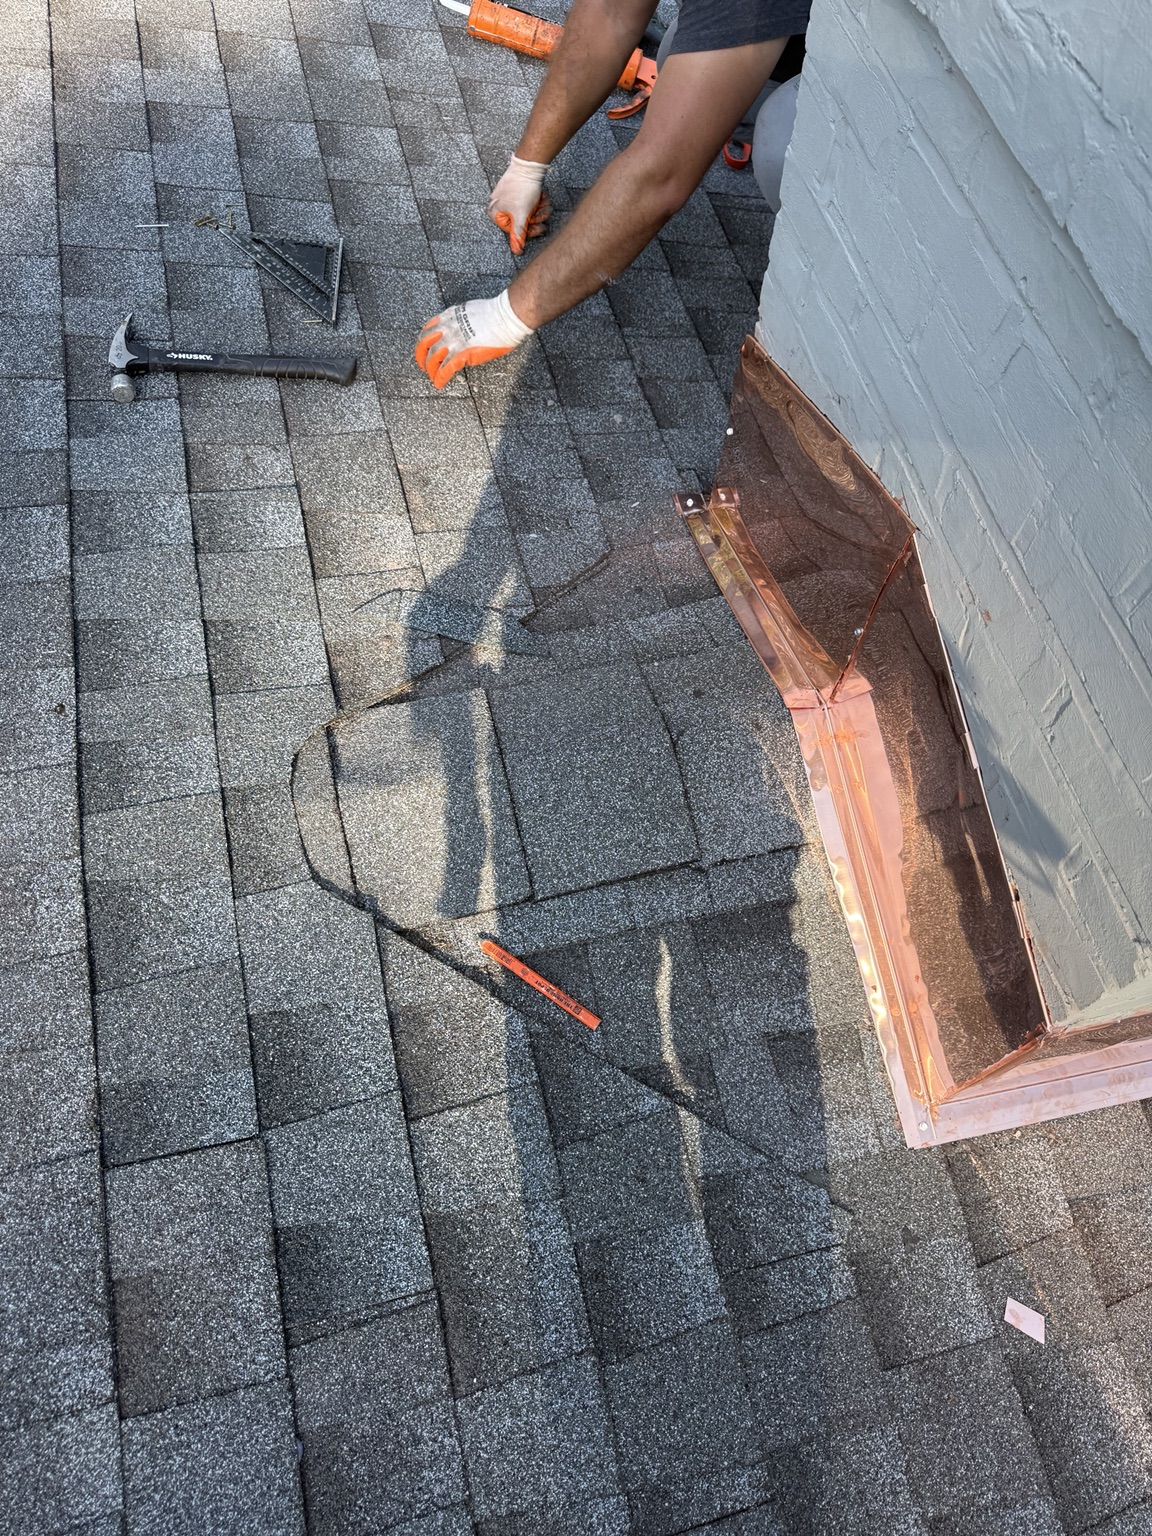
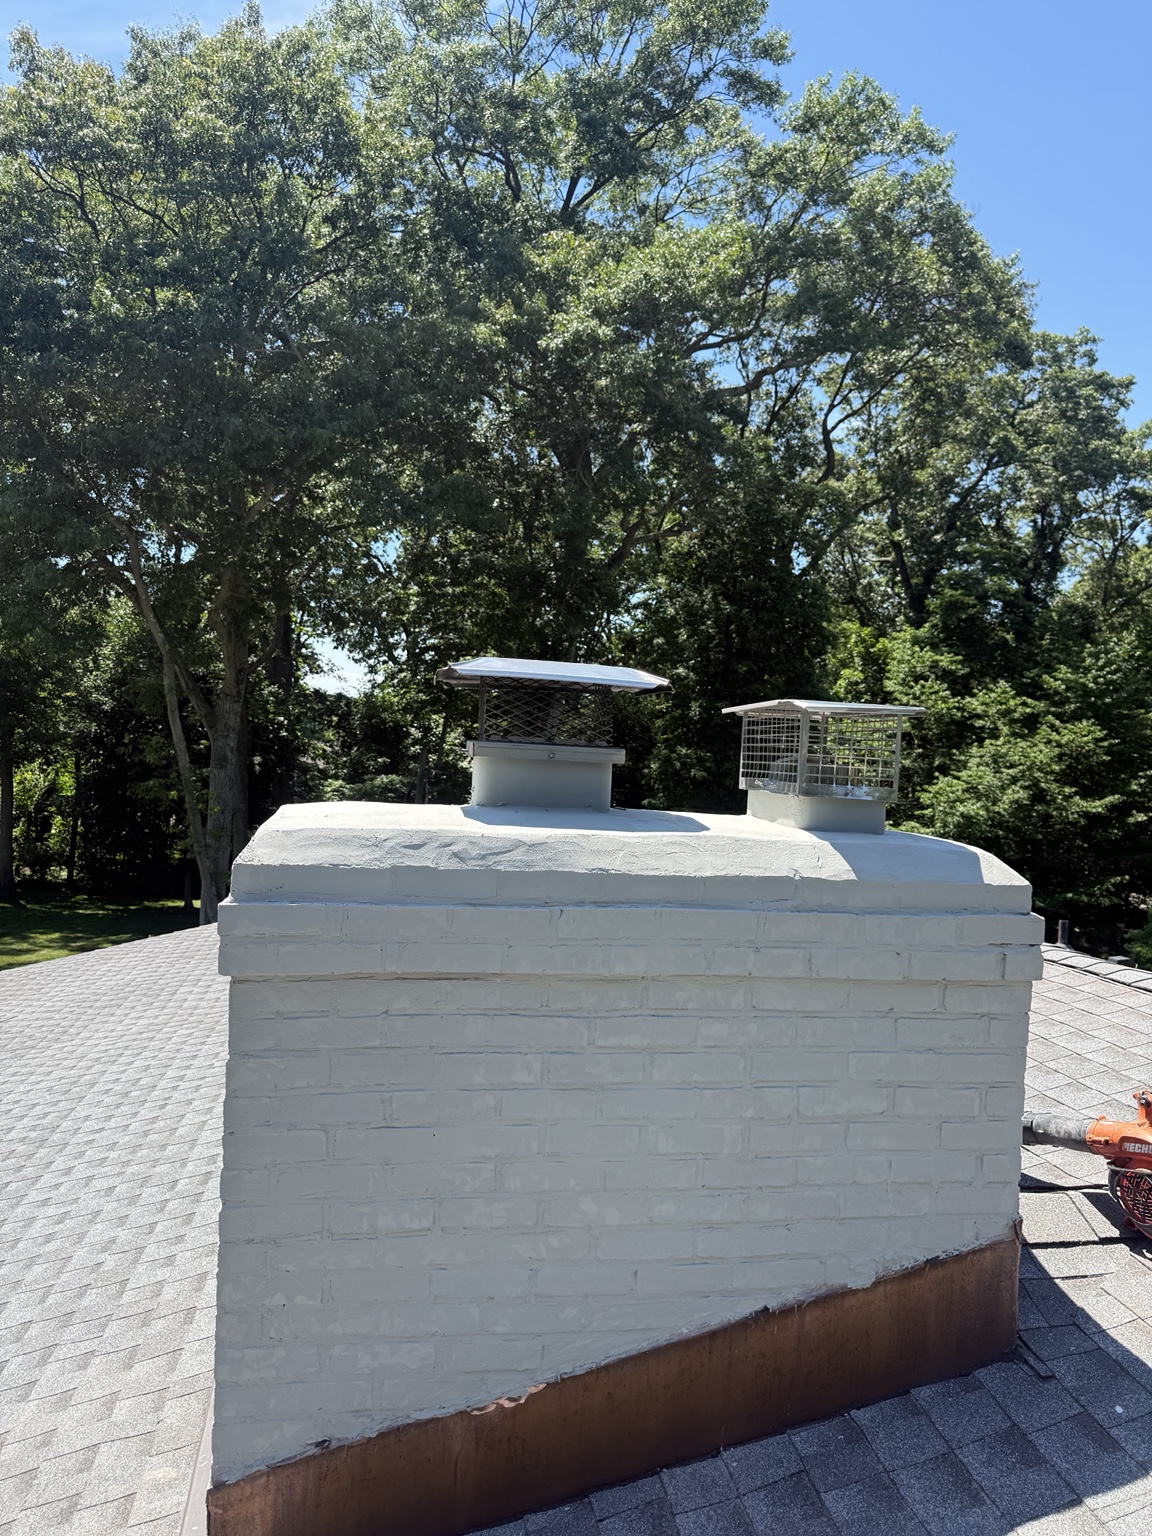
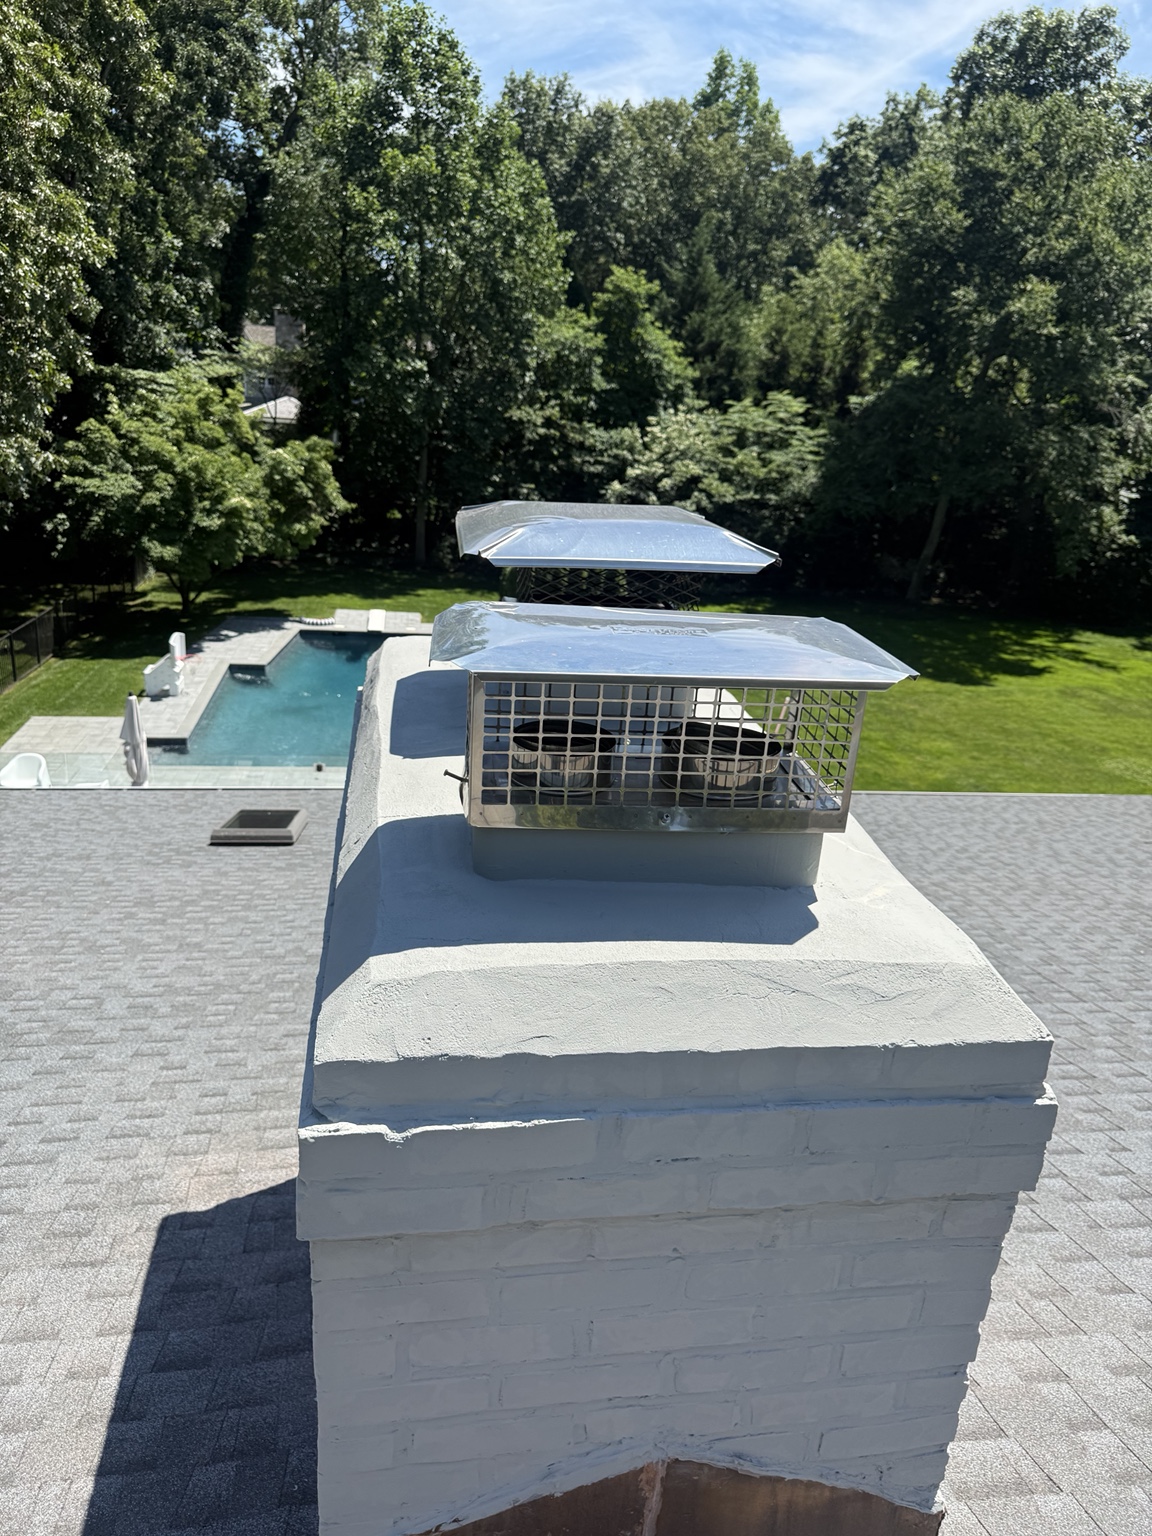
The images show newly fitted copper flashing wrapped around the brick chimney where its base meets the asphalt-shingle roof, including visible corner and side details.
The chimney exterior is pictured during preparation and with a white waterproofing finish. The purpose of the coating work is to help protect the exterior masonry from moisture exposure.
Installation photos document work with the shingles adjacent to the chimney flashing. Roof-to-chimney joints are an important consideration when investigating or preventing chimney-area leaks.
Water stains near a fireplace, damp attic areas beside a chimney, failed sealant, lifted flashing or deteriorating mortar can justify an inspection. Moisture may enter through roof flashing, masonry or chimney-top components, so the cause should be identified rather than assuming every leak needs the same repair.
Copper flashing is a visible feature of this Glen Cove project, but the correct repair on any house depends on the chimney, roof material, existing details and local conditions. Photographs alone cannot establish the condition of concealed parts of a roof.